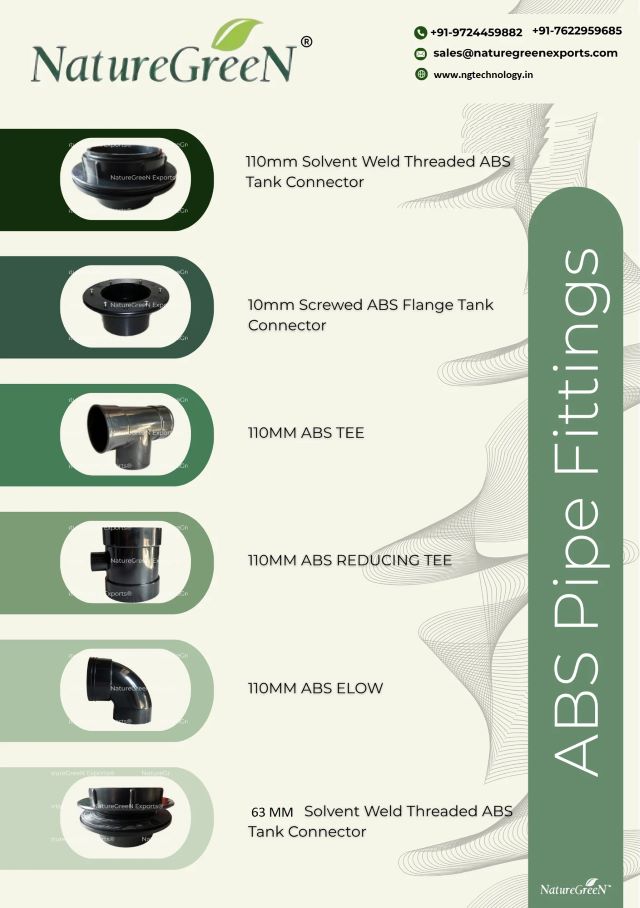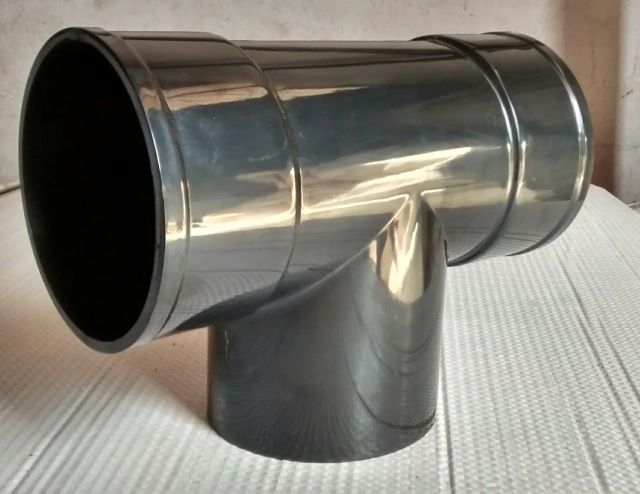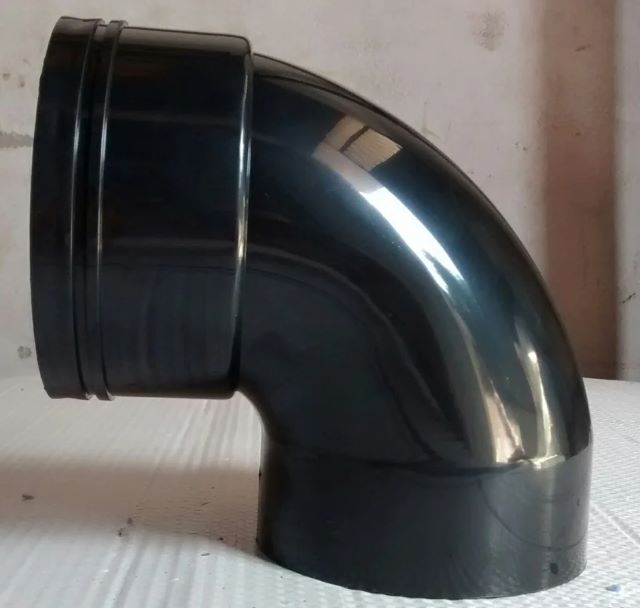
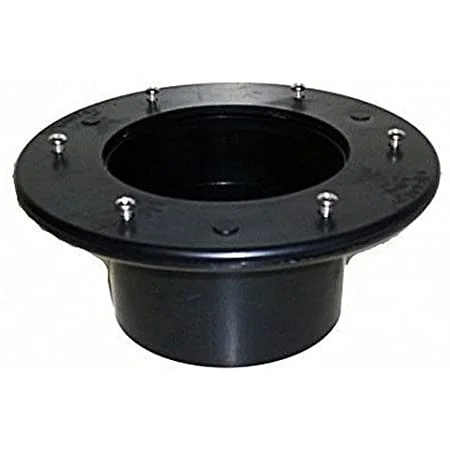
Connecting large-diameter piping lines (such as 110mm drainage headers, filter outlets, and recirculation lines) to storage tanks, drum filters, and aquaculture sumps requires high-integrity bulkhead tank adapters. In chemical, aquaculture, and wastewater storage, an improperly installed tank connector causes persistent leaks, structural stress fractures in rotational-molded polyethylene or fiberglass tank walls, and costly fluid losses. This practical technical guide details the correct engineering procedure for cutting, gasket placement, thread alignment, and torque tightening of 110mm ABS bulkhead flange adapters.
1. Anatomy of a Heavy-Duty ABS Bulkhead Tank Fitting
A precision 110mm ABS bulkhead tank adapter comprises four primary engineered components:
- Flanged Body with Threaded Barrel: Heavy-duty ABS molded fitting with an integrated broad-flange shoulder and heavy buttress or acme threads. The internal bore features a precision 110mm socket for solvent welding standard piping.
- Integrated EPDM Gasket: Premium ethylene propylene diene monomer (EPDM) elastomeric gasket engineered for chemical resistance and compression elasticity.
- Locking Compression Nut: Reverse-threaded or heavy acme nut designed to compress the gasket against the tank wall.
- Specialized Spanner Grip Slots: Precision molded lugs on the nut designed to engage specialized installation tools.
Review full dimensional specs on ABS Flanged Tank Adapters & Outlets.
2. Tank Preparation & Hole Saw Sizing Guidelines
Achieving a leak-free seal starts with precise hole cutting:
- Select the Correct Bi-Metal Hole Saw: For a 110mm nominal pipe bulkhead adapter, the threaded barrel outer diameter typically requires an exact 120mm to 125mm hole saw. Never use an oversized hole saw that reduces flange gasket contact area.
- Deburr and Clean the Cut Edge: Use a rotary deburring tool or fine sandpaper to remove all plastic swarf, flash, and burrs from both the inner and outer tank wall faces.
- Verify Tank Wall Flatness: Ensure the mounting location is on a flat section of the tank. If installing on a curved cylindrical tank, verify that tank diameter is large enough (>1,000mm) to prevent gasket pinching.
3. EPDM Gasket Placement Physics: Wet Side vs Dry Side
CRITICAL INSTALLATION RULE: The elastomeric EPDM gasket MUST ALWAYS be placed on the FLANGED SHOULDER SIDE (THE WET SIDE), NEVER under the rotating nut.
Why gasket placement matters:
- Under the Flange: As the fitting tightens, the static flange presses directly and perpendicularly against the gasket, creating an even, frictionless hydrostatic seal.
- Under the Nut (INCORRECT): If placed under the nut, the rotational friction of the turning nut tears, puckers, and distorts the rubber gasket, guaranteeing a persistent leak. Furthermore, fluid can track along the barrel threads and escape past the nut.
4. Step-by-Step Torque Tightening Procedure
| Step | Action | Engineering Best Practice |
|---|---|---|
| Step 1 | Insert Flanged Body with Gasket | Slide EPDM gasket onto barrel against the flange shoulder. Insert from the inside (wet side) through the hole. |
| Step 2 | Thread Compression Nut by Hand | Thread the ABS nut on the outside (dry side) until hand-tight against the tank wall. Ensure threads engage cleanly without cross-threading. |
| Step 3 | Apply Final Torque with Tool | Use a dedicated ABS Spanner Wrench to tighten the nut 1/2 to 3/4 turn beyond hand-tight. |
| Step 4 | Visual Gasket Inspection | Inspect the EPDM gasket: it should be uniformly compressed by approximately 25%–30% with no extrusion or buckling. |
5. Troubleshooting & Preventing Tank Wall Stress Cracks
Common mistakes to avoid during bulkhead installation:
- Never Use Pipe Wrenches or Metallic Pliers: Steel pipe wrenches gouge and crack plastic ABS nuts. Always use a purpose-molded ABS Spanner Wrench that distributes torque evenly across all nut lugs.
- Do Not Overtighten: Excessive torque compresses the gasket to metal-to-plastic contact, crushing the rubber and introducing residual stress fractures in the tank wall that crack under thermal expansion.
- Support Downstream Piping: Heavy 110mm pipes filled with water exert massive cantilever bending moments. Install pipe hangers within 300mm of the bulkhead to prevent mechanical leverage on the fitting.
Key Engineering Takeaways
- The EPDM gasket must ALWAYS be placed against the stationary flange shoulder on the wet side, never under the rotating nut.
- Use an exact hole saw size (120–125mm) and deburr both internal and external tank wall surfaces prior to installation.
- Tighten hand-tight plus 1/2 to 3/4 turn using a dedicated ABS spanner wrench to achieve 25%–30% gasket compression.
- Always support downstream 110mm pipe runs with independent hangers to eliminate cantilever strain on the tank wall.
Frequently Asked Questions
No. Never apply silicone grease, sealant, or paste to the EPDM gasket. Sealants act as lubricants, causing the gasket to slip and extrude outward under compression. The dry, clean EPDM rubber creates a 100% watertight seal on its own.
Yes, provided the tank radius is greater than 500mm (diameter >1,000mm). For smaller tanks, flat mounting boss pads must be fabricated to ensure even gasket compression.
EPDM is highly resistant to dilute acids, caustic alkalis, ozone, aging, and salt water, making it ideal for aquaculture, wastewater, and industrial water storage.
Equip Your Facility with Industrial Bulkhead Fittings
Explore NatureGreen's heavy-duty 110mm ABS flanged tank adapters and custom-molded spanner wrenches.
Related Technical Insights